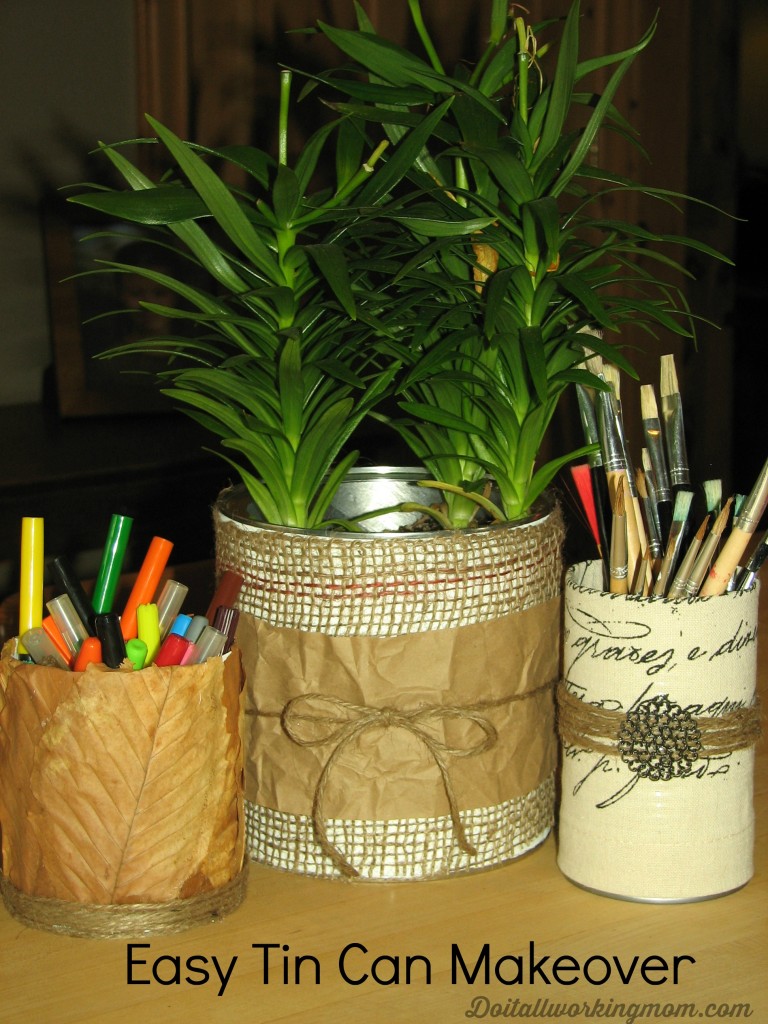
This is such a nice, fun, and inexpensive project to make. You can easily make it with your kids. I think it’s the perfect teacher appreciation gift.
In this post, I will show you how do proceed for your Tin Can Makeover. I made 3 different models, but the possibilities are endless. Use your imagination, or let your kids use theirs. Walk around your yard, and use what you find to decorate your tin cans. That’s what I did.
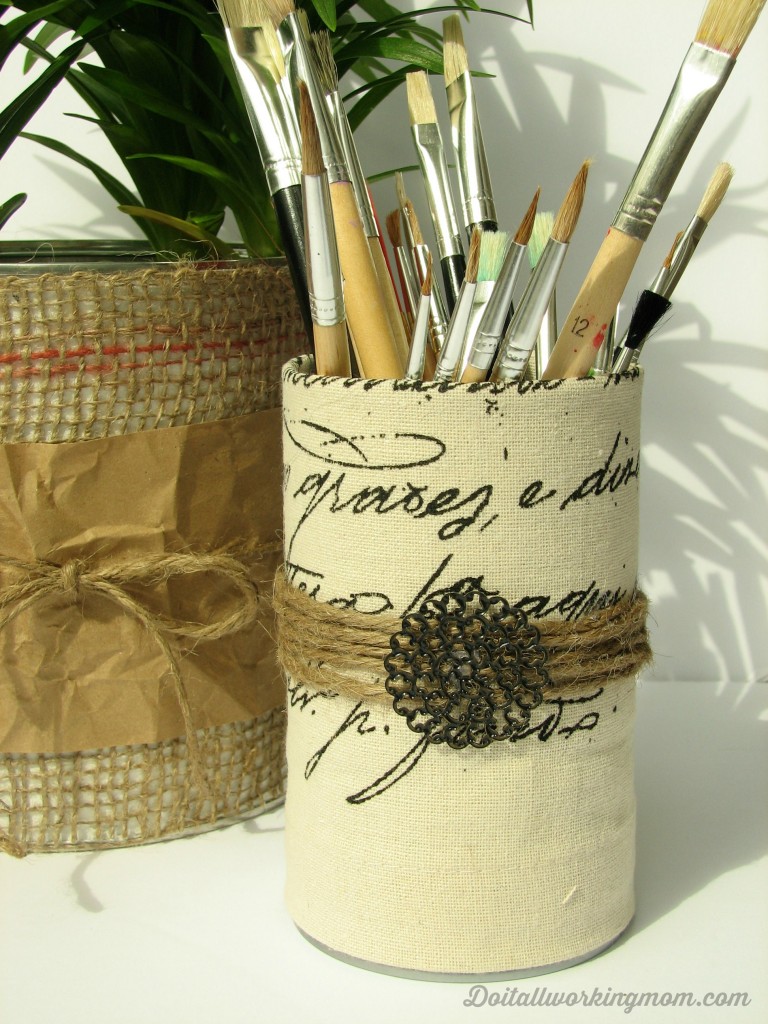
I love this one! It’s rustic, but elegant at the same time.
Supplies
A piece of fabric big enough to cover the entire can.
Hot glue gun and glue
Twine cord
Metal embellishment
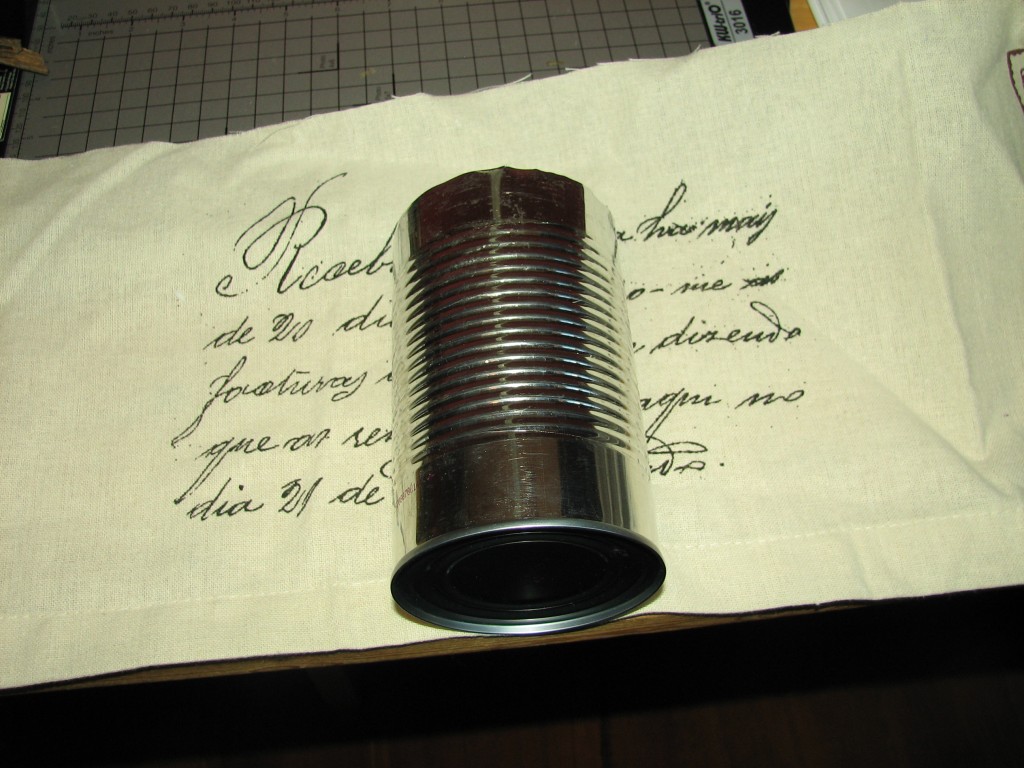
1- Place your tin can on the piece of fabric, measure what you need, and cut the excess. Leave an extra inch at the top and side.
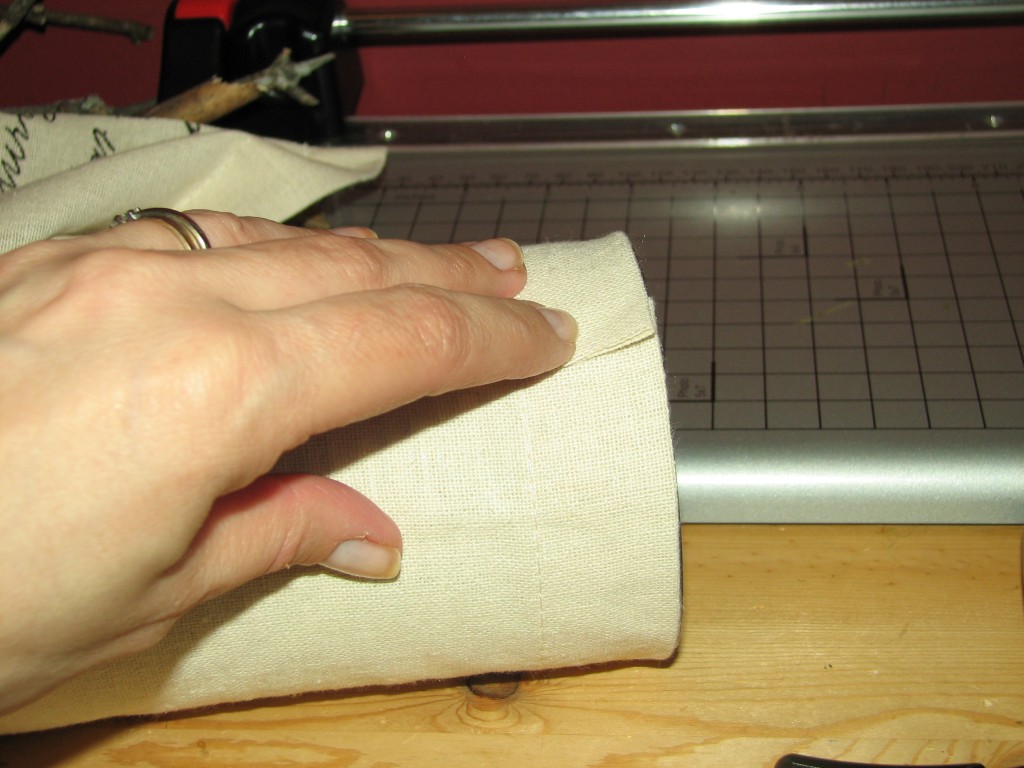
2- Place you can on the piece of fabric. Make sure the fabric is flush with the bottom of the can, leaving the extra inch at the top. With your hot glue gun, glue the side of the fabric around the can (like picture above).
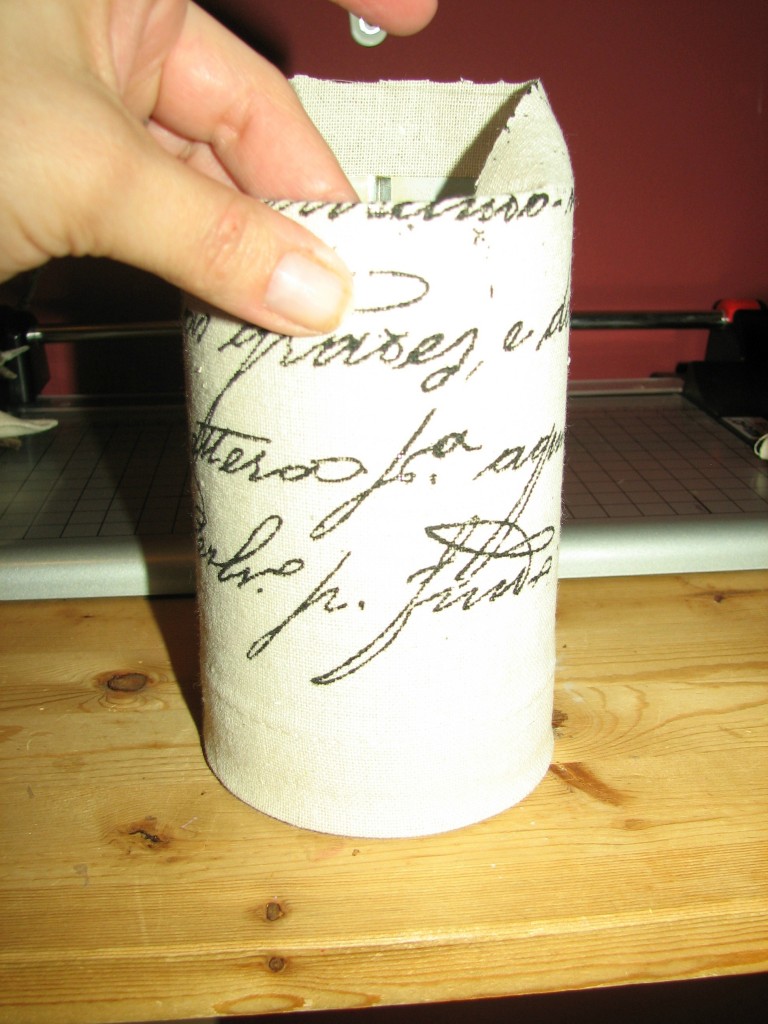
3- Fold the top of the fabric, and glue it to the inside of the can.
4- Add four layers of twine cord to the middle of the can. Glue to the back with your hot glue gun.
5- Glue your metal embellishment to the front.
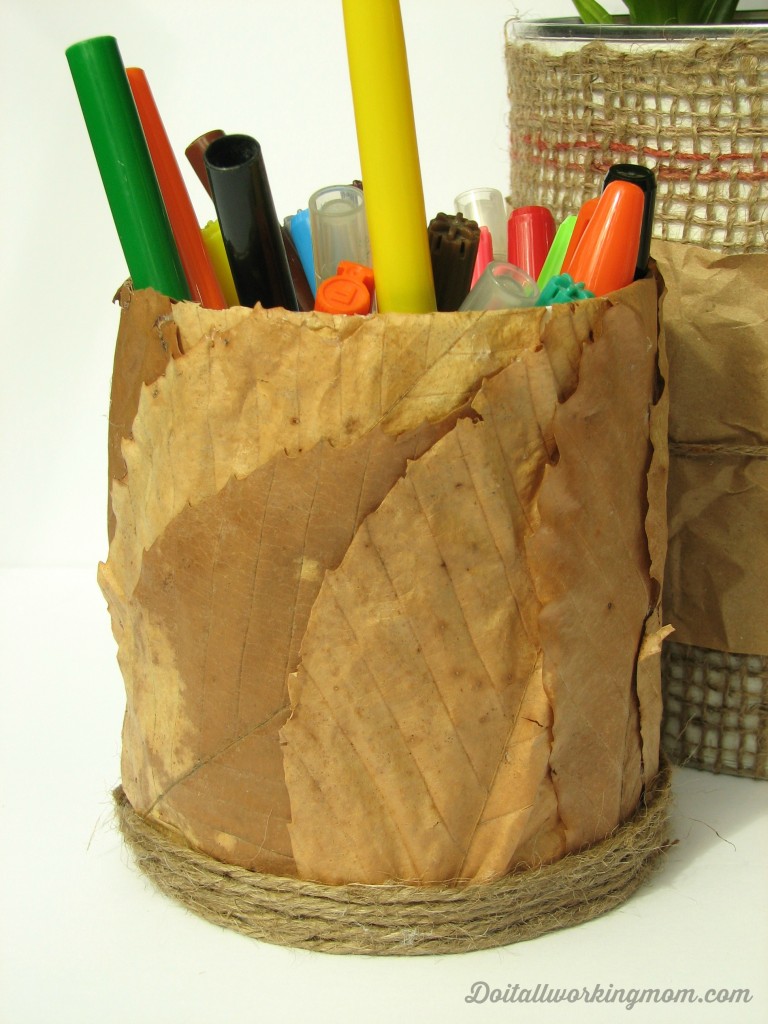
I wasn’t sure what this one would look like, but I love it!
Supplies
White acrylic paint.
Paintbrush.
Leaves (pick leaves that are not to dry or they will break).
Twine cord
Hot glue gun and glue.
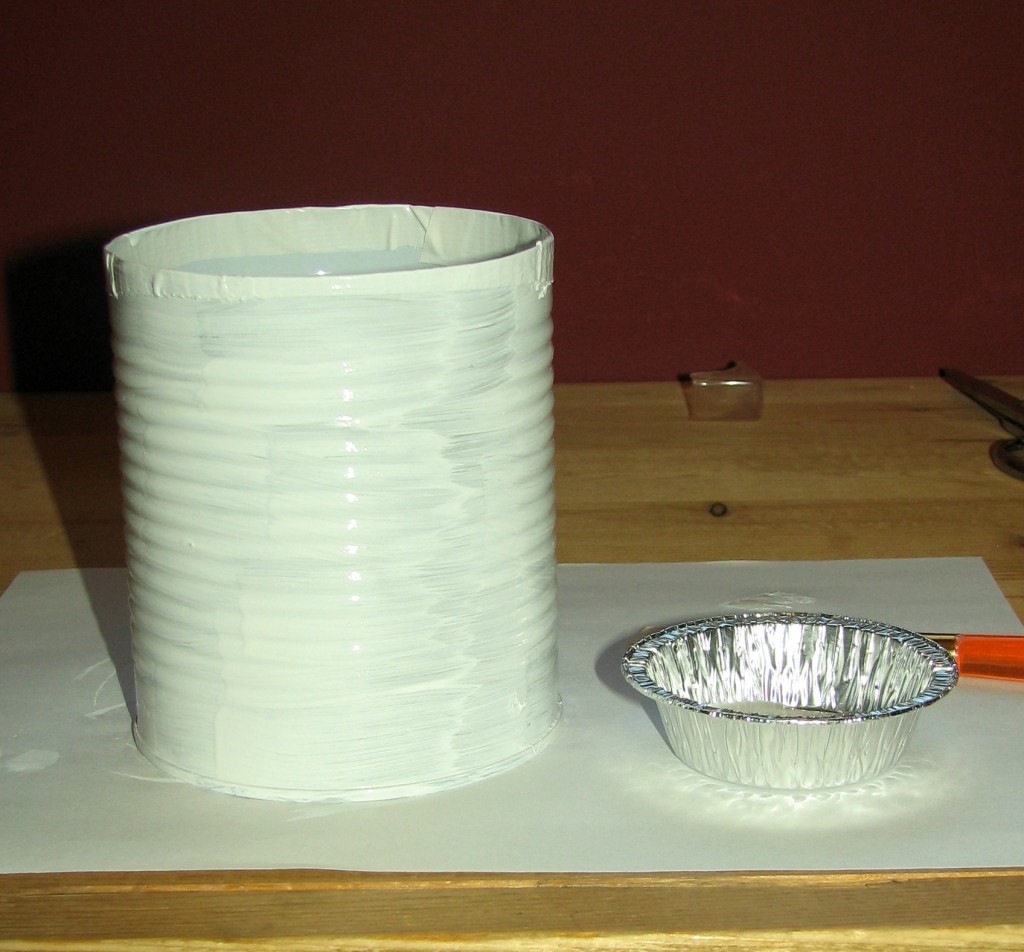
Paint your can with the white acrylic paint.
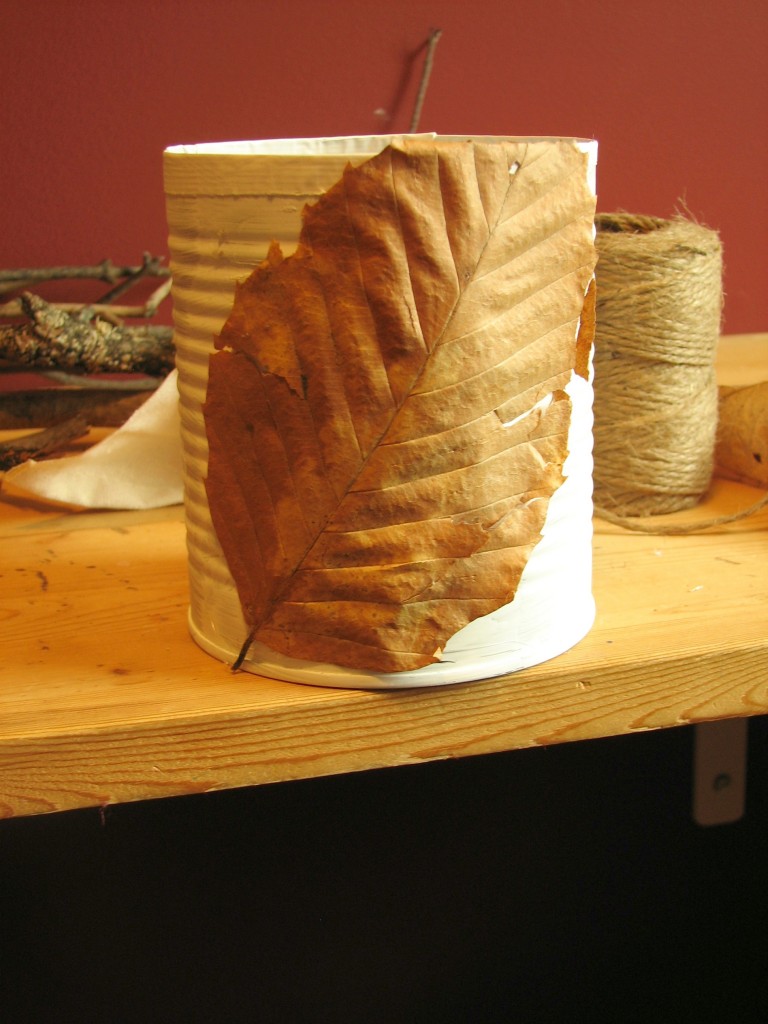
Glue the leaves to the can, trying to cover it completely. Cut the excess at the bottom. Leave extra at the top, fold it and glue it to the inside of the can with your hot glue gun.
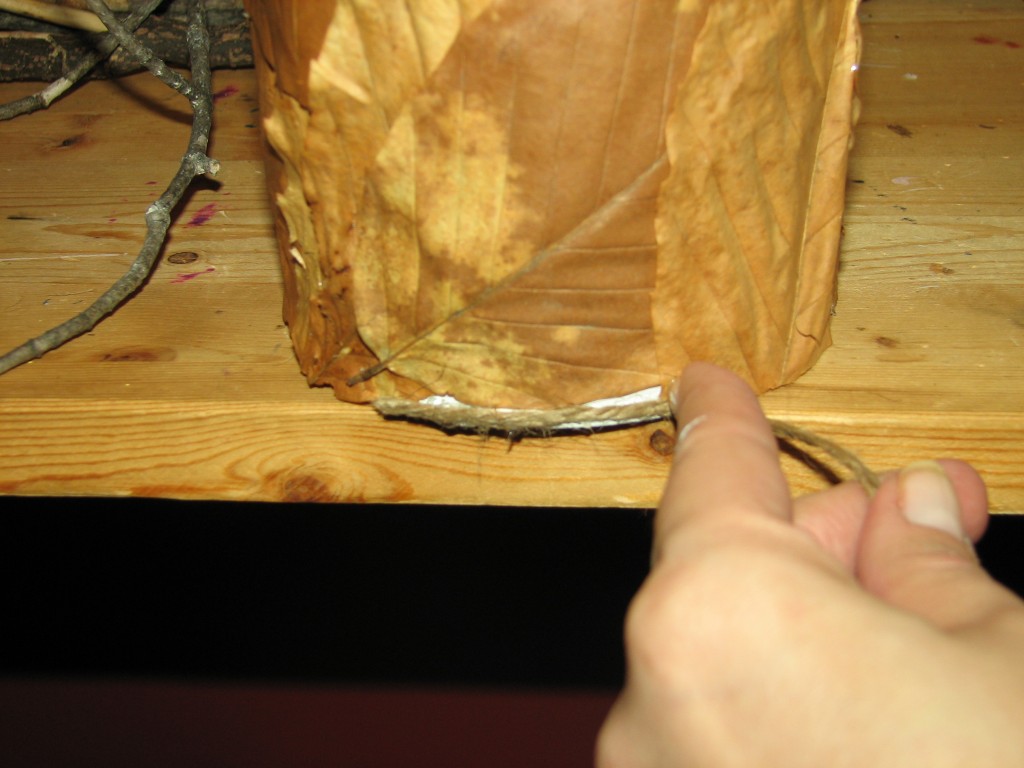
When you’re done, take the twine cord and glue 4 to 5 layers all around the bottom of the can, to make a clean edge.
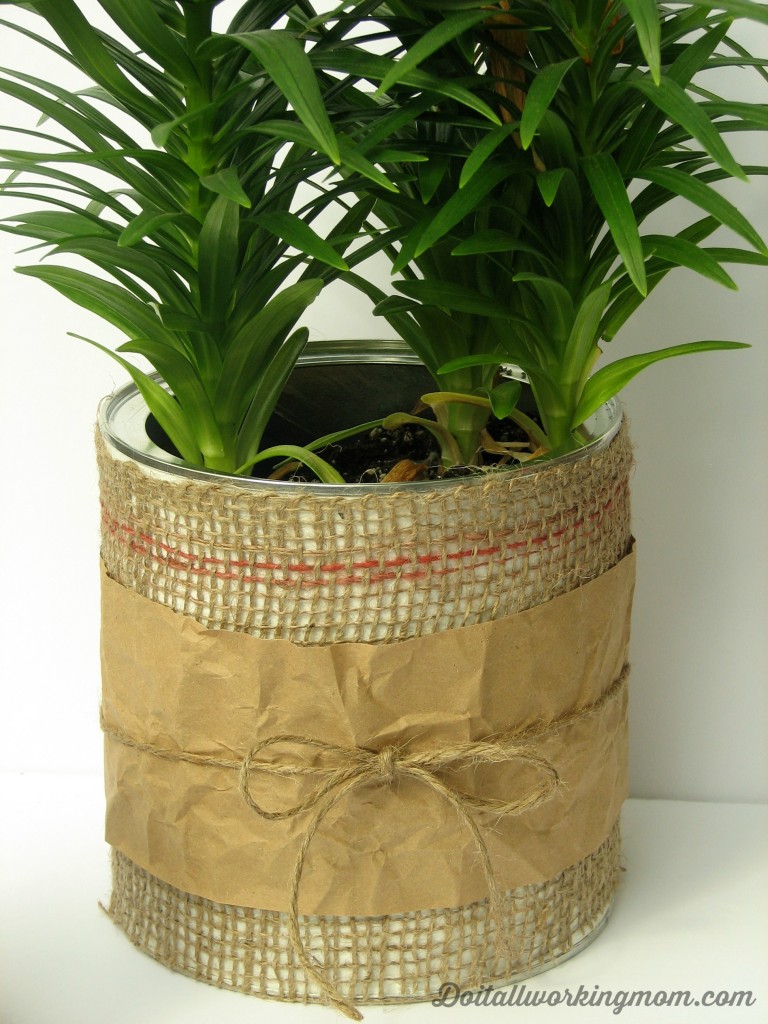
For this one, I used an empty coffee can. It’s perfect as a flower pot.
Supplies
White acrylic paint
Paintbrush
Burlap
Brown kraft paper
Twine cord
1- Paint your can with white acrylic paint.
2- Place your can on the piece of burlap, measure and cut what you need to cover the can.
3- Wrap the burlap around the can, and glue the edge.
4- Glue a smaller piece of kraft paper on top of the burlap.
5- Make a bow with the twine cord.
Now it’s time to get busy! Just a few weeks left before school ends. Your kids will be so happy to give their teacher something they’ve made themselves. I’m sure their teacher will really appreciate this handmade gift!
Thanks for visiting Do It All Working Mom.
These came out looking really cute! Thanks for sharing!
Thank you!